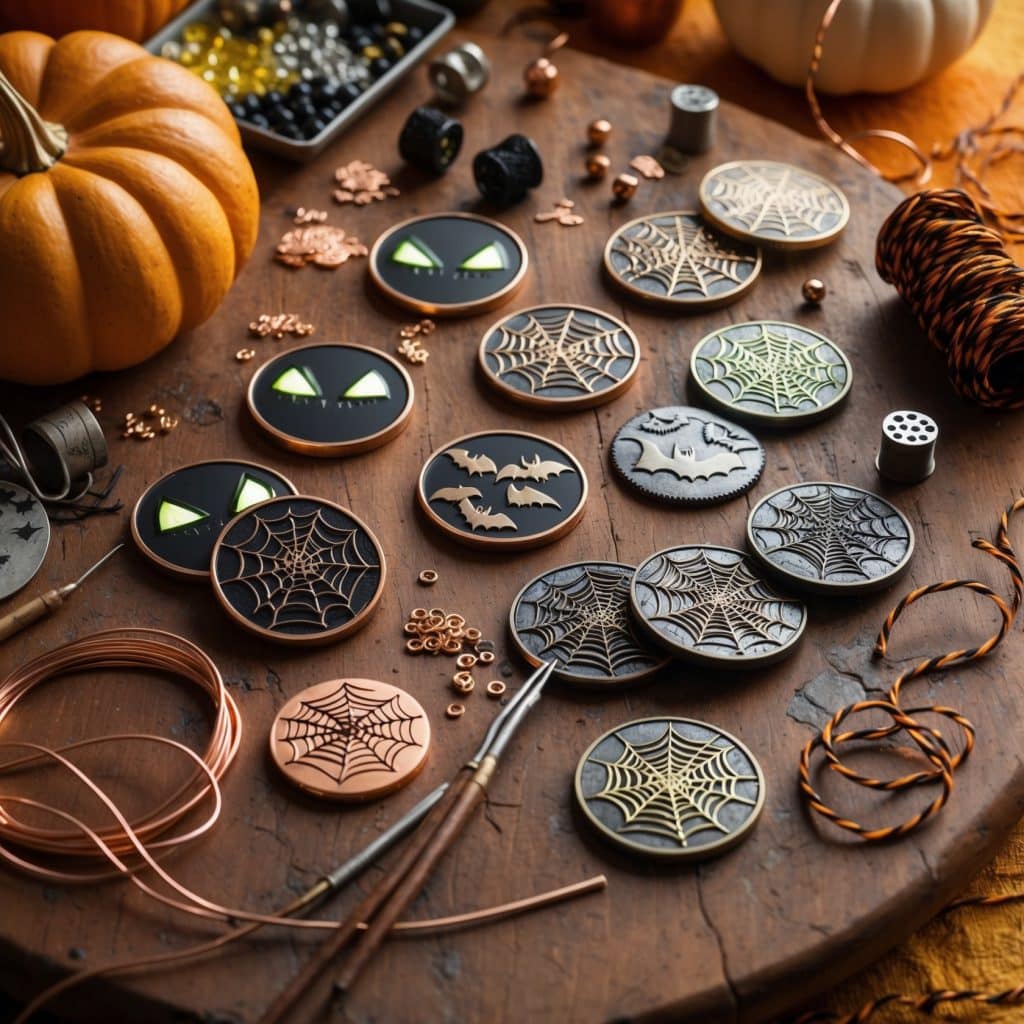
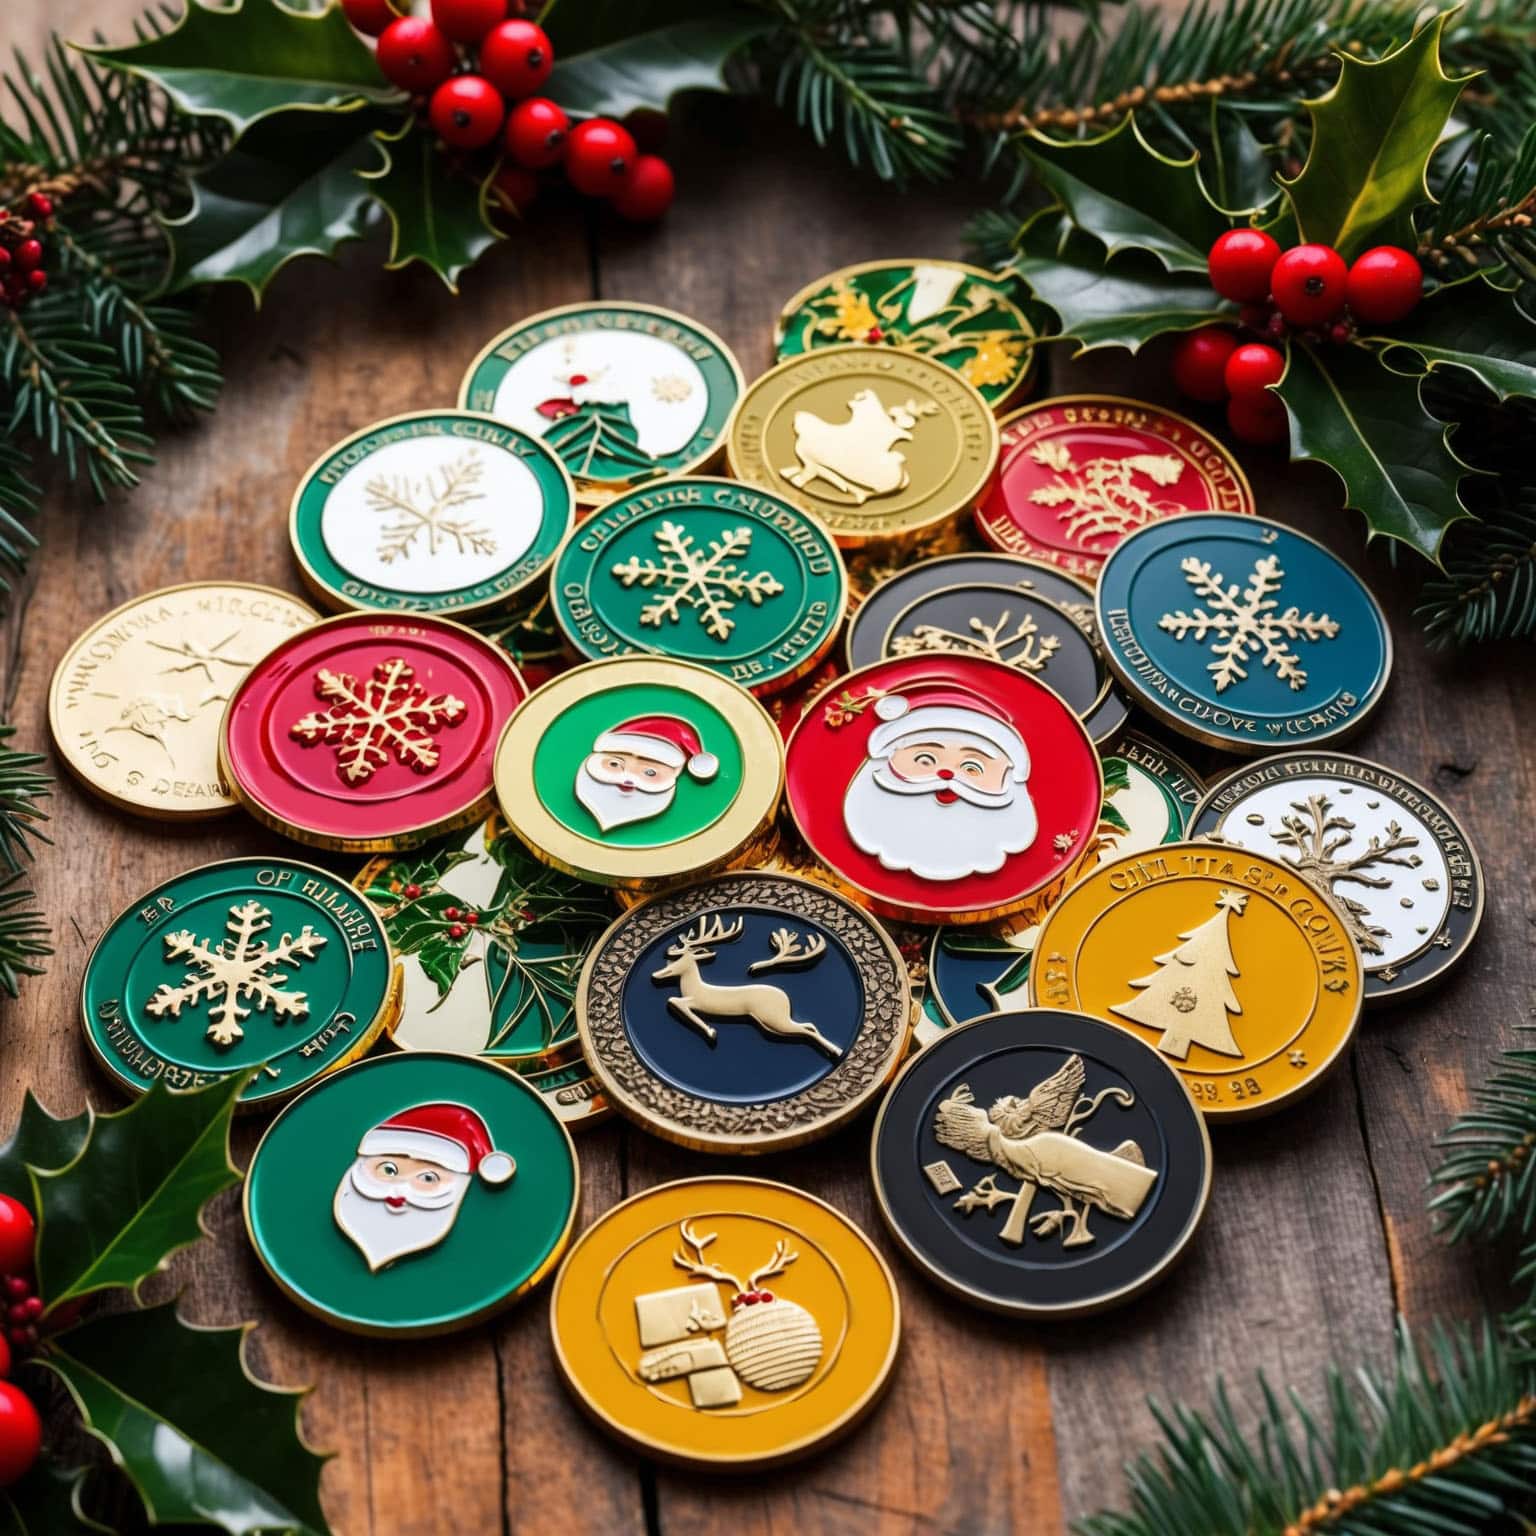
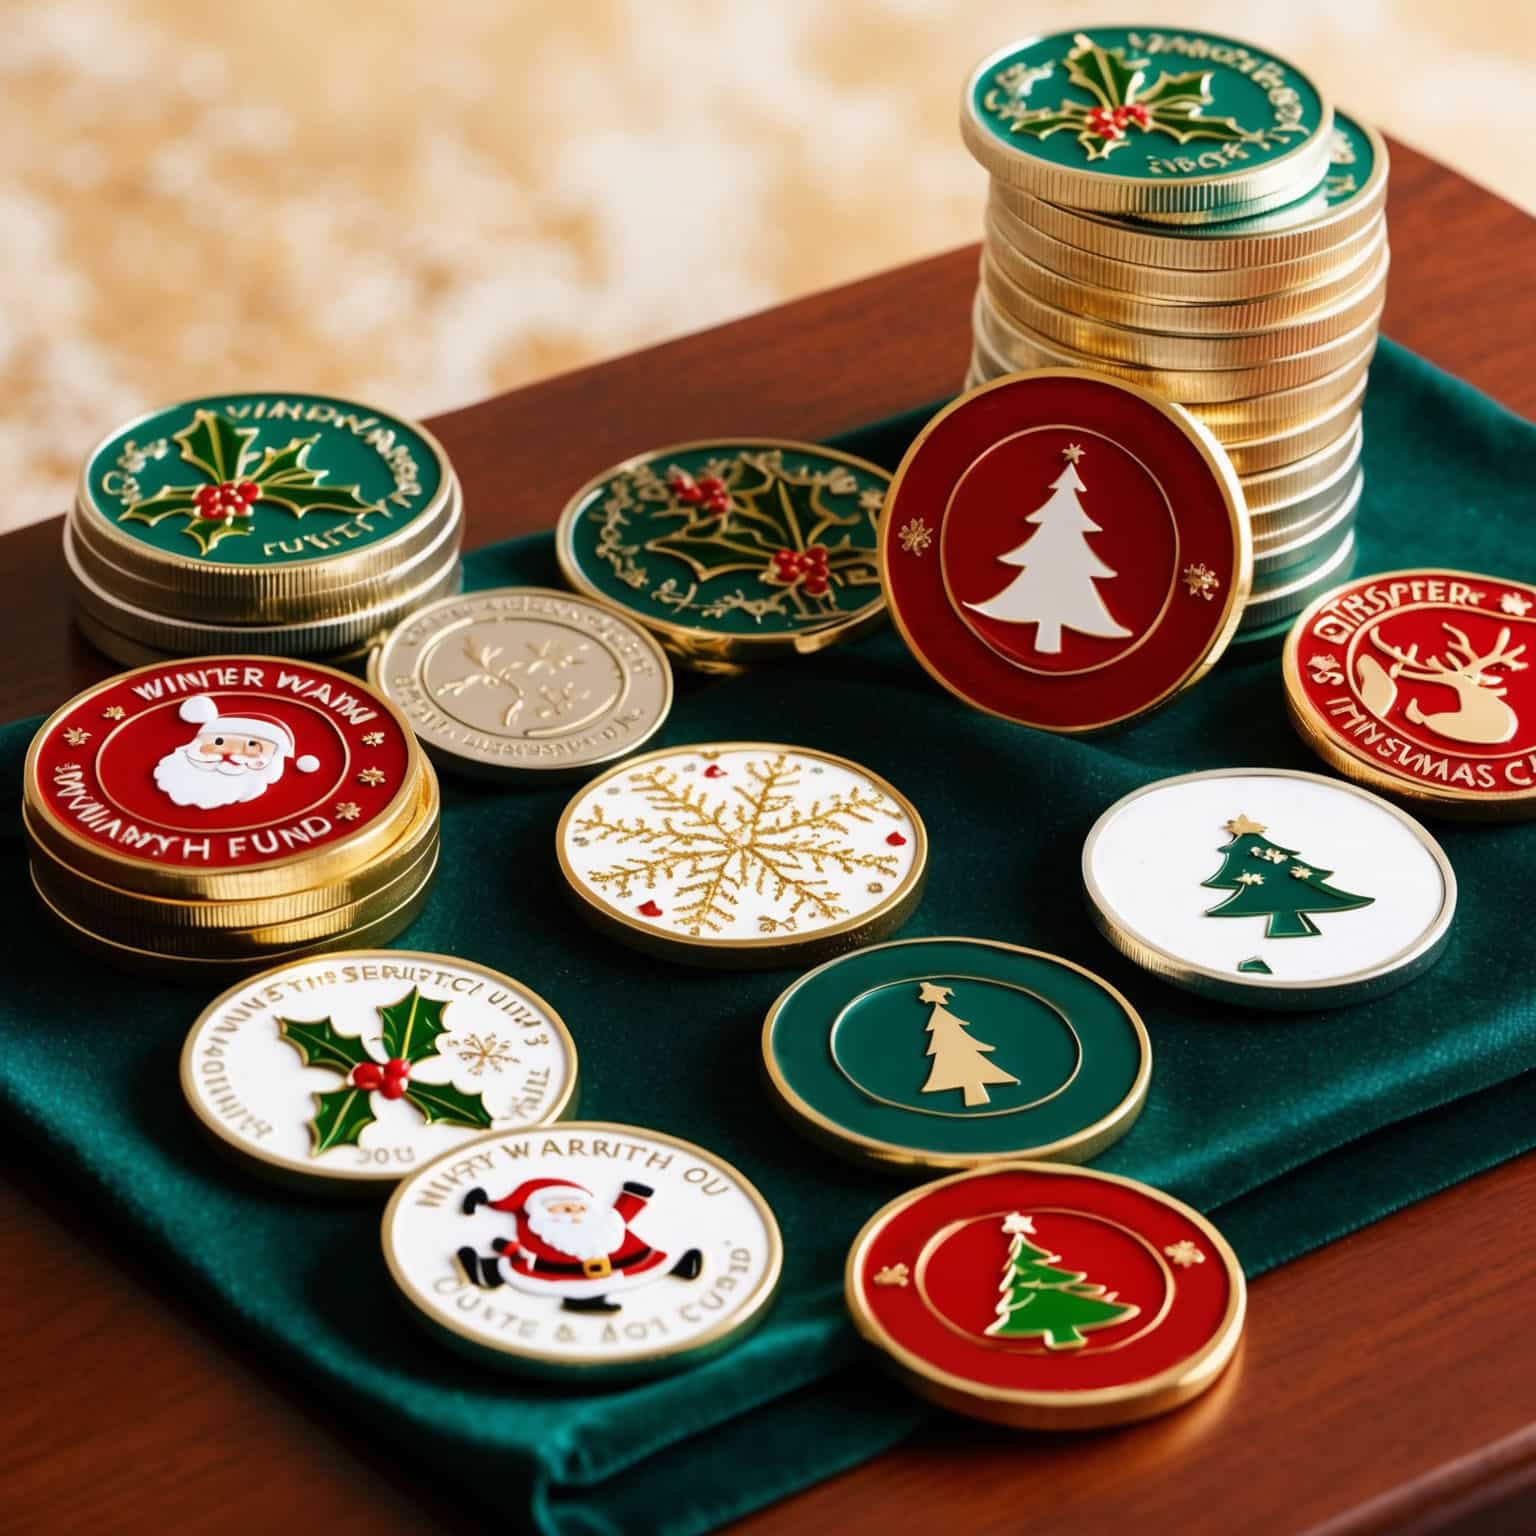
Halloween is a time for creativity, fun, and crafting unforgettable memories. For those who love the DIY approach to holiday celebrations, creating personalized Halloween challenge coins offers a unique way to add a memorable touch to festivities. Halloween challenge coins are collectible items that showcase spooky designs, festive colors, and personalized details that capture the spirit of the season. With a DIY approach, these coins become even more special, as each one is handcrafted to reflect the creator’s individual style and love for Halloween.
From haunted houses and pumpkins to witches and ghosts, the possibilities for custom designs are endless. DIY Halloween challenge coins can be given as party favors, rewards, or keepsakes that commemorate Halloween events. They’re a great addition to costume parties, community festivals, or family gatherings, adding a fun and personalized element to the celebration.
In this article, we’ll explore the steps to create your own Halloween challenge coins, from gathering materials and choosing designs to applying special techniques that make each coin stand out. Whether you’re a DIY enthusiast, an event planner, or just someone looking to add a personal touch to Halloween, this guide will show you how to craft unique challenge coins that are perfect for the spooky season.
Why Create Your Own Halloween Challenge Coins?
Creating DIY Halloween challenge coins is not only enjoyable but also allows for complete customization. Here’s why making your own coins is a fantastic choice for Halloween celebrations:
1. Personalization and Creative Freedom
By making your own Halloween challenge coins, you have the freedom to design them exactly as you like. Unlike store-bought coins, DIY coins allow you to select the themes, colors, and designs that mean the most to you. Whether it’s adding a favorite Halloween symbol, incorporating family initials, or using unique color combinations, DIY coins make it possible to create something truly personal and special.
This creative freedom is perfect for those who want to capture specific memories or create coins that have unique sentimental value. For example, if Halloween is a tradition in your family, you can make coins that feature family names, special dates, or inside jokes, giving them a personal touch that ready-made items lack.
With DIY coins, you can also create pieces that reflect your personal Halloween aesthetic, from spooky gothic designs to playful, family-friendly styles. Adding personal symbolism, like a favorite Halloween memory or theme, makes each coin feel like a mini time capsule. This personalization not only makes the coins special for you but also turns them into meaningful keepsakes for family and friends.
2. Memorable and One-of-a-Kind Keepsakes
DIY Halloween challenge coins make for memorable keepsakes that guests and family members will cherish. Since these coins are handmade, they carry a special quality that reminds recipients of the time and effort put into their creation. They’re not only decorative items but also reminders of a fun Halloween celebration that they can keep and display.
These coins also serve as collectible items that friends and family will look forward to each year. Over time, you can establish a tradition of creating new coins with different designs each Halloween, encouraging loved ones to look forward to receiving a new addition to their collection annually. This turns your DIY coins into something more than just a Halloween favor; they become a meaningful, anticipated tradition.
Making each year’s coins distinct or themed around a certain Halloween aspect (such as haunted houses one year and pumpkins the next) adds to the fun. For family gatherings, each year’s coin could be a memento of that Halloween’s festivities, including activities, parties, or even themed costumes. As guests or family members start to collect each year’s unique design, the coins become cherished memories that build on each other over time.
3. Fun and Interactive Activity for Halloween Parties
Creating DIY Halloween challenge coins can also be a fun, interactive activity to include at Halloween parties or gatherings. By setting up a coin-designing station with various materials, you allow guests to join in on the creative process, designing their own coins as keepsakes from the event. This is an enjoyable way to engage both kids and adults, encouraging guests to get hands-on with their Halloween experience.
Not only does this activity add a layer of entertainment to the party, but it also results in personalized tokens that attendees will remember long after Halloween is over. For family gatherings or school events, crafting Halloween coins together can foster a sense of camaraderie and create unique mementos that capture the festive atmosphere of the holiday.
Consider setting up design stations with prepped coin blanks, paints, markers, and Halloween-themed stencils so that everyone has the chance to add their creative spin to their coins. For younger participants, using Halloween stickers and simple stamp designs might be ideal, while older guests might enjoy more detailed stenciling or engraving work. Allowing guests to design their own coins gives everyone a way to remember the Halloween event in their own unique way, adding a personalized touch to the occasion.
Materials You’ll Need for DIY Halloween Challenge Coins
Before diving into the design process, let’s go over the essential materials for creating your own Halloween challenge coins. Fortunately, many of these materials are easily accessible and affordable, making DIY coins a budget-friendly project.
1. Coin Blanks
Coin blanks serve as the base for your challenge coins. These blank, circular discs are typically made of metal or wood and provide a smooth surface for designing. You can find coin blanks at most craft stores or online, and they come in various sizes, so choose the one that best fits your design.
Metal blanks offer a more traditional look and feel, similar to actual coins, while wood blanks provide a rustic, handmade appearance that’s perfect for Halloween-themed designs. Choose the material that best matches your preferred style and fits well with your overall design idea.
For those who want a particularly polished look, metal blanks may work best, and they’re more durable over time. Wood blanks, however, allow for greater versatility in painting and texturing, providing a surface that holds paints and engravings well. Think about the look and feel you want for your coins, as well as where you plan to display them, as this can help you choose the right type of blank.
2. Paints and Markers
Acrylic paints and permanent markers are essential for adding color and detail to your Halloween challenge coins. Acrylic paint works well on both metal and wood blanks, providing vibrant colors that are perfect for Halloween themes. Markers are ideal for adding finer details, such as text, outlines, and intricate designs.
Opt for Halloween colors like orange, black, purple, and green to capture the holiday’s spooky vibe. If you want your coins to have a vintage look, consider using metallic paints like bronze, gold, or silver. These add a polished finish that gives the coins a more professional appearance.
Some markers, like metallic or glitter markers, can add extra effects and are great for outlining or adding a shimmer to designs. For a DIY project, experimenting with color combinations is half the fun, so don’t hesitate to get creative with multi-colored pumpkins, bats, or glowing ghost outlines.
3. Sealant or Clear Coat Spray
To protect your finished coins and ensure they last, you’ll want to apply a sealant or clear coat spray once the paint has dried. This layer of protection helps preserve the colors and details, preventing wear and tear. It also gives the coins a polished look, making them resemble professionally-made challenge coins.
Choose a clear, non-yellowing sealant for best results. This can be found in spray form or as a brush-on liquid. Sealants specifically designed for acrylic or enamel paints are the most effective, ensuring the colors remain vibrant and smudge-free over time.
The sealant or clear coat also adds to the coin’s durability, making it an item that can be stored or displayed without fear of fading. Especially if you plan to keep or gift the coins as collectible items, sealing the surface ensures the artwork remains intact, creating a quality finish that resembles manufactured coins.
4. Engraving or Stamping Tools (Optional)
For those looking to add texture or engravings to their Halloween challenge coins, engraving or stamping tools are excellent options. Engraving tools allow you to carve designs directly into the surface, adding depth and texture that make the coins feel authentic and professional. Stamping tools, on the other hand, are used to press designs onto the coin’s surface.
These tools are optional but can enhance the quality of your coins, making them feel even more like traditional challenge coins. Engraving tools are particularly useful if you’re working with metal blanks, as they create lasting impressions that give each coin a handcrafted look.
Engraving can also allow you to add personal details or specific Halloween imagery that holds meaning for the creator or recipient. For instance, adding a small spider web or a person’s initials into the metal or wood can make each coin unique. If you’re gifting these coins, consider adding dates, event names, or initials to make them truly personalized keepsakes.
5. Halloween Stencils and Stickers
Stencils and stickers can simplify the design process, especially for intricate Halloween images like bats, witches, or pumpkins. These tools help guide your painting or engraving, allowing you to achieve precise, detailed designs without having to rely on freehand drawing.
Halloween-themed stencils are widely available and come in designs perfect for your Halloween challenge coins. They provide a template for beginners and those who may want to ensure consistent designs across multiple coins. Stickers can be applied as decorations or used as templates that you paint over and then peel away for clean, sharp lines.
Using stencils or stickers also allows you to create more complicated designs with ease, even if you’re new to DIY projects. They ensure that every detail—from the jagged smile of a jack-o’-lantern to the delicate wings of a bat—is precisely rendered. For young kids or beginner crafters, these tools make the design process enjoyable and approachable.
Step-by-Step Guide to Creating Your Halloween Challenge Coins
With materials in hand, you’re ready to start designing and creating your Halloween challenge coins. Here’s a step-by-step guide to help you bring your spooky coin creations to life:
Step 1: Prepare the Coin Blanks
Start by cleaning your coin blanks to ensure they’re free of dust and oils that might interfere with the paint or sealant. If using metal blanks, wipe them with rubbing alcohol; for wood, a gentle sandpaper buffing may help smooth out the surface.
Once prepped, set up a workstation with newspaper or a drop cloth to protect surfaces. You’ll also want to wear protective gloves if using paints or sealants, as they can be difficult to remove from skin.
Step 2: Plan Your Design
Decide on a theme or design for your coins. Halloween provides a wealth of inspiration, from jack-o’-lanterns and bats to haunted houses and skeletons. Consider sketching your design on paper first, giving you a clear idea of what each coin will look like.
If creating multiple coins with the same design, it can be helpful to plan for consistency. Decide on a color scheme, layout, and whether you want to add text, such as “Happy Halloween” or the event name and year. This planning step makes the actual painting and detailing process much smoother.
Step 3: Add Base Colors and Backgrounds
Begin by applying a base coat of paint to the coin blanks. Choose a background color that matches your design’s overall look. For example, orange or black backgrounds work well for classic Halloween themes, while metallic finishes like silver or bronze give the coins a more polished, traditional look.
Allow the base coat to dry completely before adding additional layers or details. Depending on the type of paint used, you may need to apply multiple coats to achieve an even, vibrant color. Once the background is ready, you can move on to adding details and Halloween imagery.
Step 4: Paint or Engrave Halloween Designs
Using your Halloween stencils or freehand skills, begin adding the main design elements. Start with larger shapes, like pumpkin faces or haunted house silhouettes, and work your way toward smaller details. For wood blanks, you might use a combination of paint and marker for added texture.
If you’re using engraving or stamping tools, this is when you’ll add any engraved details, such as text or outlines. Take your time with this step, as adding small details can be intricate work. Consider using a magnifying lamp for close-up work, ensuring your designs are clear and precise.
Step 5: Add Personalized Touches
Adding personalized details, such as initials, dates, or names, makes the coins even more special. Use fine-tip markers or small brushes for these details, ensuring they’re neatly applied and match the rest of the design’s style.
For group events, you can even add different participant names to each coin, turning them into personal keepsakes. This is especially nice for family gatherings or close-knit Halloween parties, as each person can have a coin with their name or nickname, making them unique to each individual.
Step 6: Apply a Sealant or Clear Coat
Once your design is complete and the paint is fully dry, it’s time to protect your work. Apply a sealant or clear coat spray to the surface of each coin, allowing it to dry completely before handling. This protective layer keeps your colors vibrant, shields the design from smudging, and adds a polished finish.
If you’re using multiple coats, allow each layer to dry fully before applying the next. This will ensure a smooth, even finish that protects your coins while enhancing their appearance.
Unique Design Ideas for Halloween Challenge Coins
Here are a few creative ideas to inspire your designs and help you capture the Halloween spirit in your Halloween challenge coins:
1. Glow-in-the-Dark Designs
For an extra spooky effect, use glow-in-the-dark paint or stickers on your coins. You could outline a ghost, pumpkin, or bat with glow-in-the-dark paint, making the design visible in the dark and giving your coins a magical touch that’s perfect for Halloween.
2. Classic Horror Movie Theme
Pay homage to classic horror films by creating coins featuring iconic characters or symbols, like Frankenstein, the Mummy, or a werewolf. This theme is perfect for Halloween enthusiasts who love horror movies and adds an element of nostalgia to the coins.
3. Witches and Magic
Create a magical theme by designing coins with witches, cauldrons, spellbooks, or magic wands. This style is perfect for capturing the mystical side of Halloween and appeals to anyone who loves the enchanting side of the holiday.
4. Day of the Dead Inspiration
For a twist on Halloween, consider a Day of the Dead theme with sugar skulls, marigolds, and intricate patterns. This style brings a unique cultural element to your coins, creating designs that are both festive and visually captivating.
Displaying and Sharing Your DIY Halloween Challenge Coins
Once your coins are complete, you’ll want to showcase and share them. Here are a few ways to make the most of your creations:
- Display Them at Parties: Place your DIY coins on display at Halloween parties, allowing guests to admire your handiwork. Consider giving them out as party favors or awards for costume contests.
- Share on Social Media: Take photos of your finished coins and share them on social media. Use Halloween-themed hashtags and tag friends to showcase your creativity and inspire others.
- Create a Halloween Tradition: Make a new design each year and give out coins to family and friends. Over time, this becomes a fun Halloween tradition that people will look forward to each year.
Add a Personal Touch with DIY Halloween Challenge Coins
Creating your own Halloween challenge coins is a rewarding and creative way to add a unique touch to Halloween celebrations. These custom coins capture the spirit of Halloween in a personal and memorable way, serving as keepsakes that friends, family, and guests will cherish long after the holiday ends.
From gathering materials and planning your design to painting, engraving, and adding personalized details, crafting Halloween challenge coins allows you to showcase your creativity and love for the holiday. So this Halloween season, gather your supplies, channel your spooky spirit, and start crafting custom coins that will become treasured mementos of your Halloween festivities. If you are interested in a unique personalized challenge coin, you can call us at 800-371-6256 or fill out a FREE quote form.

